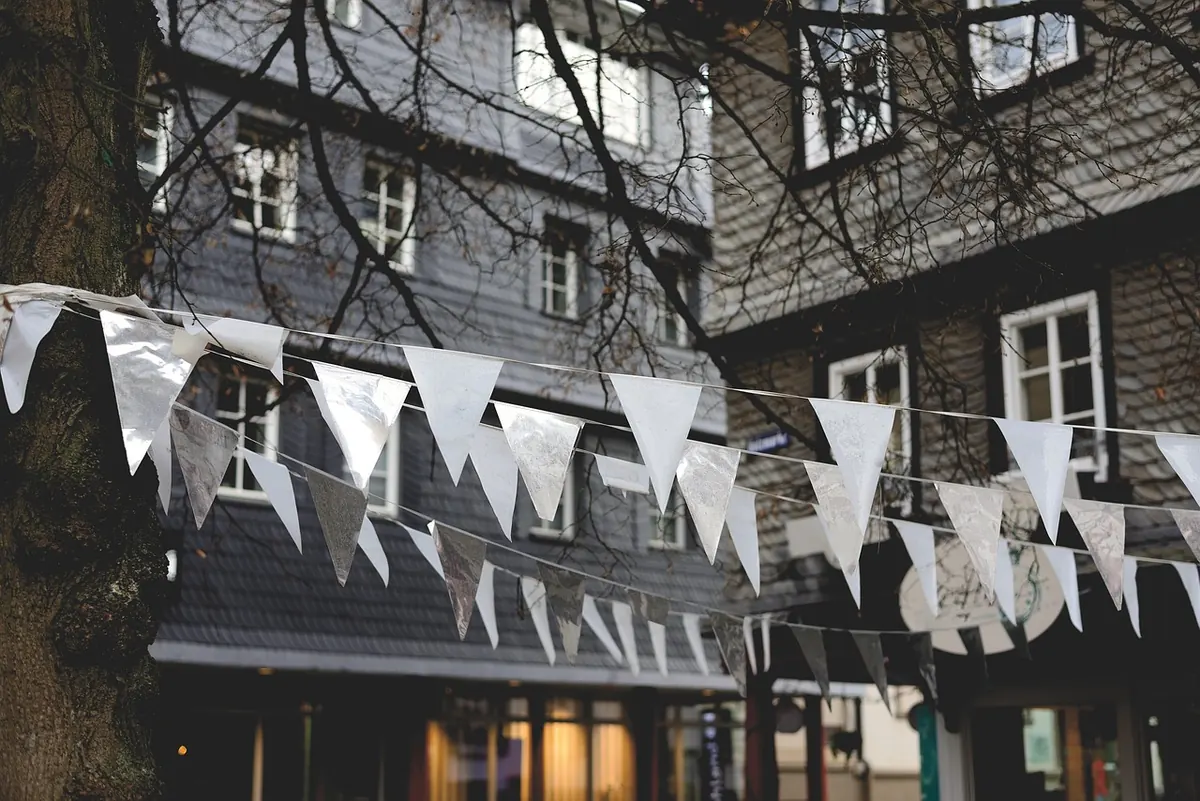
Bunting does more work at a children's party than any other decoration. It fills a bare wall in minutes, points guests towards the cake table, and photographs well from every angle. The trick is choosing it before the theme runs away with you, and hanging it with slightly more thought than "string it across the room and hope".
What follows is a full styling plan: colour, the name flag, where to hang, and how to get a finish that looks considered rather than improvised. It works for a kitchen-table party for six or a garden full of thirty.
Pick two or three colours and refuse to add a fourth. That single rule does more for a party than any prop you can buy. Plenty of bunting is sold in mixed rainbow packs, and while those are cheerful, they fight with everything else in the room. A tight palette looks styled; a random one looks like a clearance bin.
A few combinations that reliably work:
Look at the room before you commit. If the walls are strong, borrow a shade from them and let the bunting echo it. If the party has a theme, take the two leading colours from that theme and leave the rest out. And if the birthday child is old enough to have an opinion, ask — a six-year-old will tell you exactly what they want, and it's their party.
One useful detail: keep the cake-table run and the wall bunting slightly different. Plain flags in one spot, patterned in the other. Two identical runs in the same room read as leftovers rather than decoration.
Fabric and felt survive being folded into a box and reused for years; paper and card are bright, cheap and usually one-party-only. Indoors, anything goes. Outdoors, weight matters — cotton, felt and heavier card hold a line in a breeze, while thin paper curls and tears. If the party is in a garden, plan for wind at both ends of the run.
The name flag is what separates shop-bought bunting from bunting that belongs to this particular party. It's also the piece most people get slightly wrong, usually by squeezing too much onto one flag. A few rules that help:
If you're ordering personalised bunting rather than making it, give yourself more time than feels necessary. Custom orders often take longer than the delivery estimate suggests, and the one thing you can't fix on the morning of the party is a parcel that hasn't arrived.
Most children's parties need bunting in exactly three places. Decide these before you buy anything, because the metre count depends on it.
Hang a short run as a backdrop, with the lower edge sitting roughly 30–40cm above the tabletop so it clears the cake, candles and any tall vase. On a plain wall, this is where the name flag belongs. A swag pinned along the front edge of the table is a second option — it frames the cake without competing with it.
One swag, with the dip in the centre. Keep the lowest point above adult head height so nobody walks into it, and make sure the door can still close. Tie ribbon around the frame or use an adhesive hook rather than pinning into painted wood.
This is the photo wall, so give it the full width and hang it at roughly two-thirds of the wall height. Leave a clear metre or two in front for people to stand. A plain sheet behind makes the bunting read cleanly. If the wall has shelves or a television, hang above them rather than trying to weave around them.
Keep paper bunting well clear of open flames. If the cake has real candles, the bunting should sit above and to the side, never hanging over the cake itself. Loose ends should also be out of reach of toddlers and pets, who will treat a dangling ribbon as a toy.
Walk in through the door your guests will use. Can you read the name from there? Is anything hanging at head height? Is the cake-table run clear of candles? Do the ends sit level? Fix one thing, not five. A slightly imperfect run that's firmly attached always beats a perfect one that's about to come down.
Photo: Pexels / Pixabay